Anyone who spends time on the trail knows that mountain weather doesn’t play by the rules. Blue skies can turn stormy in minutes, and a sunny morning can shift to freezing cold by afternoon—especially here in Northwest Montana. The key to staying comfortable (and safe) is mastering the art of layering.
Whether you’re setting out for a summer hike or a shoulder-season backpacking trip, your layering system should help you regulate temperature, manage moisture, and protect against the elements. Here’s how to build a reliable setup from the base layer out.
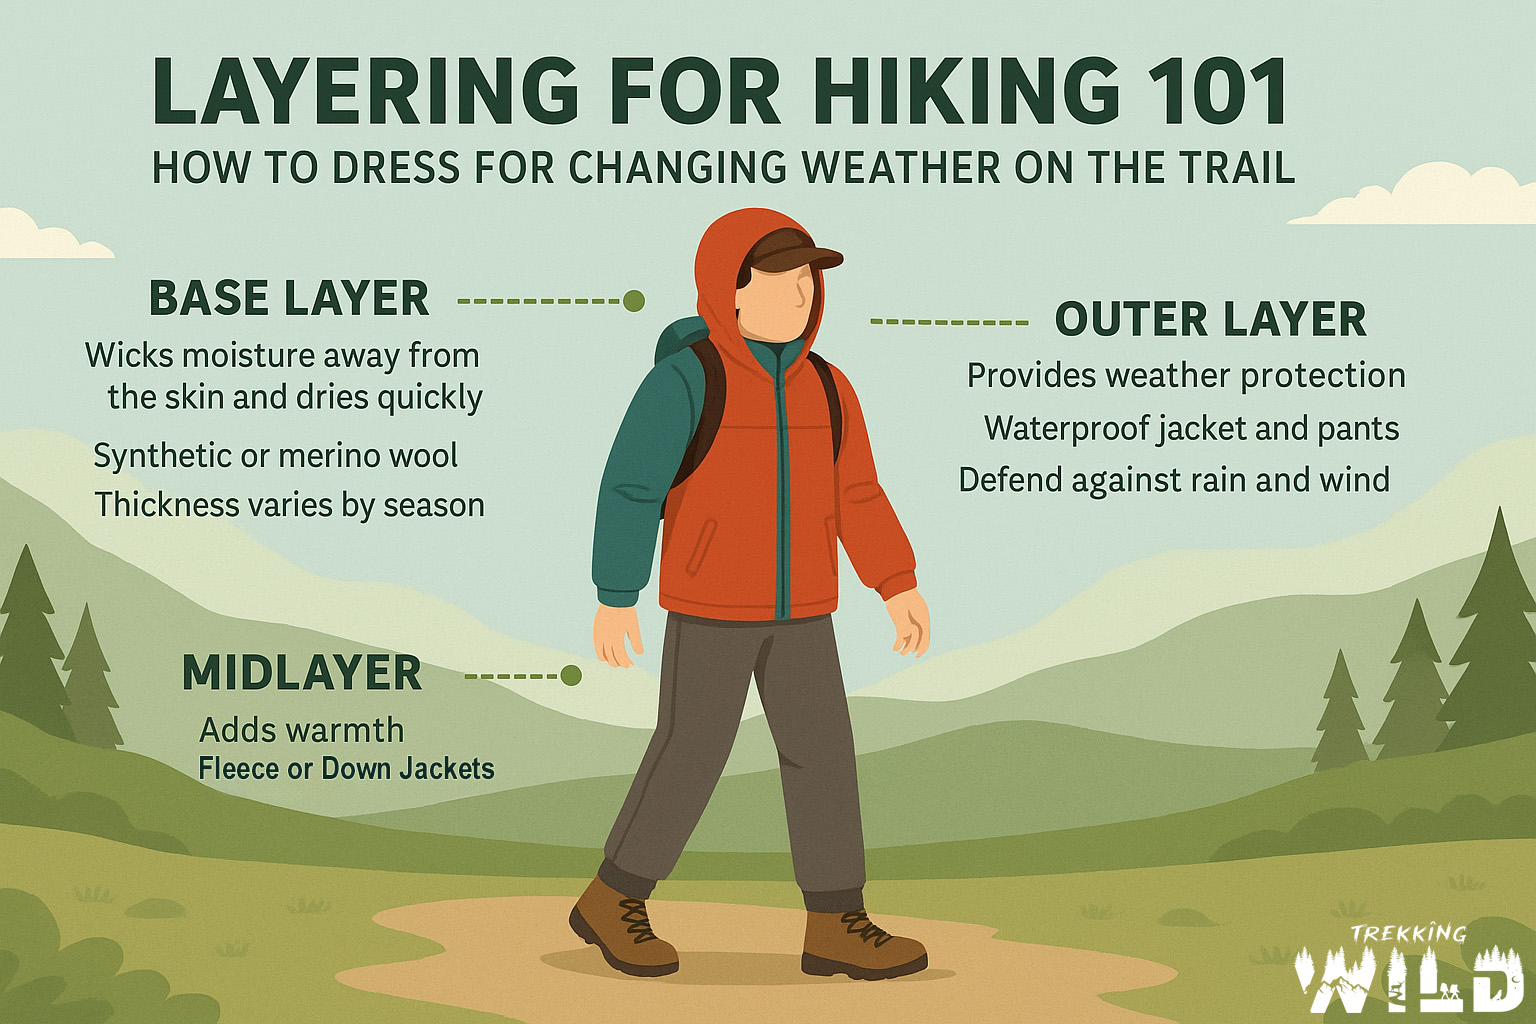
1. Base Layer – Your First Line of Defense
The base layer is worn directly against your skin and serves two essential purposes: it wicks moisture (sweat) away and dries quickly. Staying dry is crucial—not just for comfort, but for avoiding chills when temps drop.
What to look for:
- Materials: Merino wool or synthetic fabrics (like polyester). Avoid cotton—it stays wet and will leave you cold.
- Weight:
- Lightweight for summer hikes.
- Midweight or heavyweight for cold weather or winter outings.
If you’re hiking in cooler temps or gaining elevation fast, a slightly thicker base layer can keep your core warm without overheating.
2. Mid Layer – The Insulation
The midlayer is your insulating layer, designed to trap body heat and keep you warm. This layer should be easy to pack and quick to throw on when the temps drop or you take a break on the trail.
Common options:
- Fleece jackets – breathable and affordable.
- Down or synthetic puffies – more warmth for the weight, great for colder conditions.
Choose something compressible so you can stash it in your pack when it’s not needed. A good rule of thumb: if you’re moving and sweating, your midlayer is probably off. If you’re stopped or the weather turns, you’ll want it on.
I usually start hiking without my midlayer on—sure, you might be cold at first, but as you get moving, you’ll warm up fast. As the saying goes: be bold, start cold.
3. Outer Layer – Weather Protection
This is your shield from wind, rain, and snow. A good outer layer keeps you dry and blocks the wind without trapping in too much heat. Breathability is key here.
What to look for:
- Waterproof and windproof materials – Gore-Tex or other breathable membranes.
- Ventilation features – I always recommend jackets with pit zips so you can dump heat without taking it off.
- Adjustability – A good hood, adjustable cuffs, and drawcord hems help seal out the weather.
Don’t forget rain pants. Even if you don’t wear them often, having a waterproof pant layer in your pack can be a lifesaver during storms or when hiking through wet brush.
Final Tips for Trail Layering
- Always bring your three layers as a minimum. We want to avoid overpacking, but if you leave layers at home, they aren’t doing you any good. You can always take layers off, but you can’t put on what you didn’t bring.
- Use stuff sacks or dry bags to keep layers organized and protected inside your pack.
- Test your setup. Go for a short hike with your full layering system and see how it feels before committing to a big trip.
When done right, layering lets you adapt to the trail’s unpredictable moods—so you can keep hiking longer, safer, and more comfortably. And the best part? You don’t need fancy gear—just thoughtful choices and a little planning.